Do you know how to Clean and Replace Valve in your Cistern?
Toilet cisterns are a critical component of any bathroom, but over time, they can become clogged or worn out, leading to leaks or ineffective flushing. In Europe, the most common types of flush tanks are exposed cisterns (usually made of high-quality plastic, less often ceramic) and concealed cisterns, each requiring slightly different maintenance approaches. This guide will explain how to clean or replace fill and flush valves in both types of cisterns.
What Are Fill and Flush Valves?
- Fill Valve: This controls the water flow into the cistern and shuts off once the tank is full. A clogged or leaking fill valve can cause the tank to overfill, fail to fill, or result in continuous water flow.
- Flush Valve: This opens during flushing to let water flow from the tank to the toilet bowl, then seals shut. If worn or clogged, it can lead to constant water leakage into the bowl.
Exposed vs. Concealed Cisterns – Key Differences
- Exposed Cisterns: These are installed above the toilet bowl and are typically made of plastic. Their lid can be easily removed to access the valves.
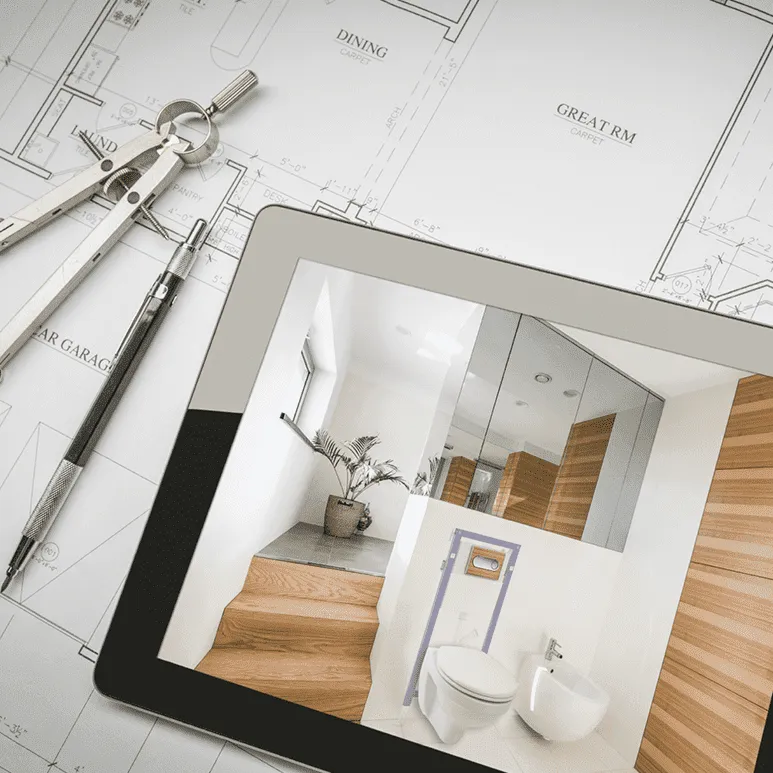
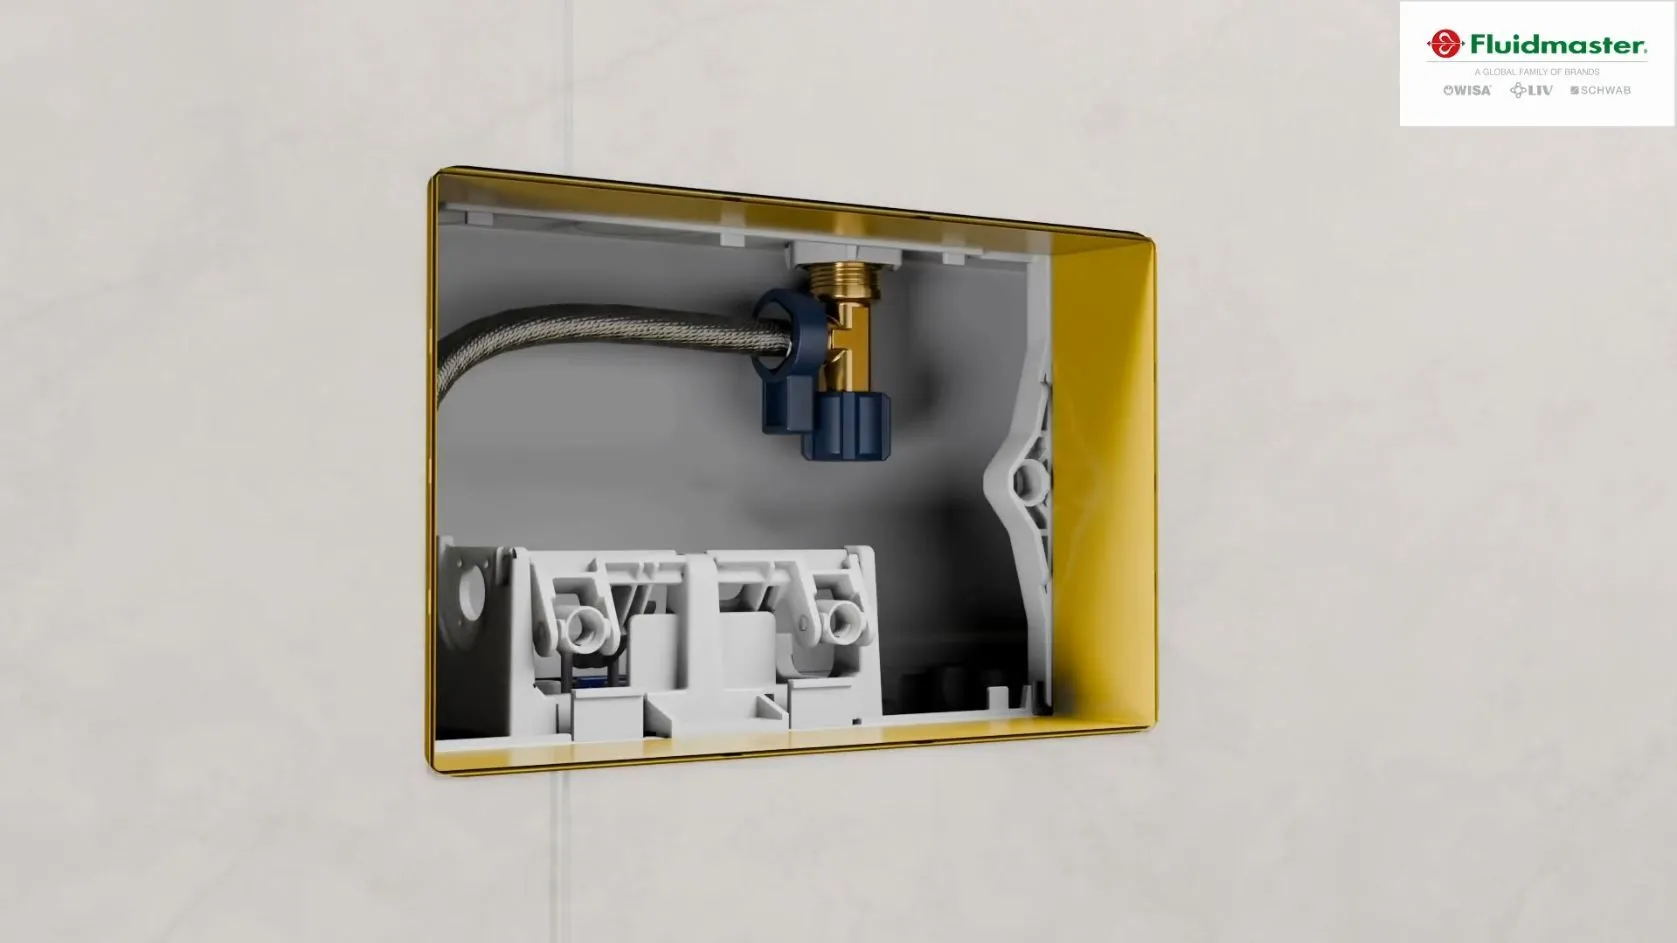
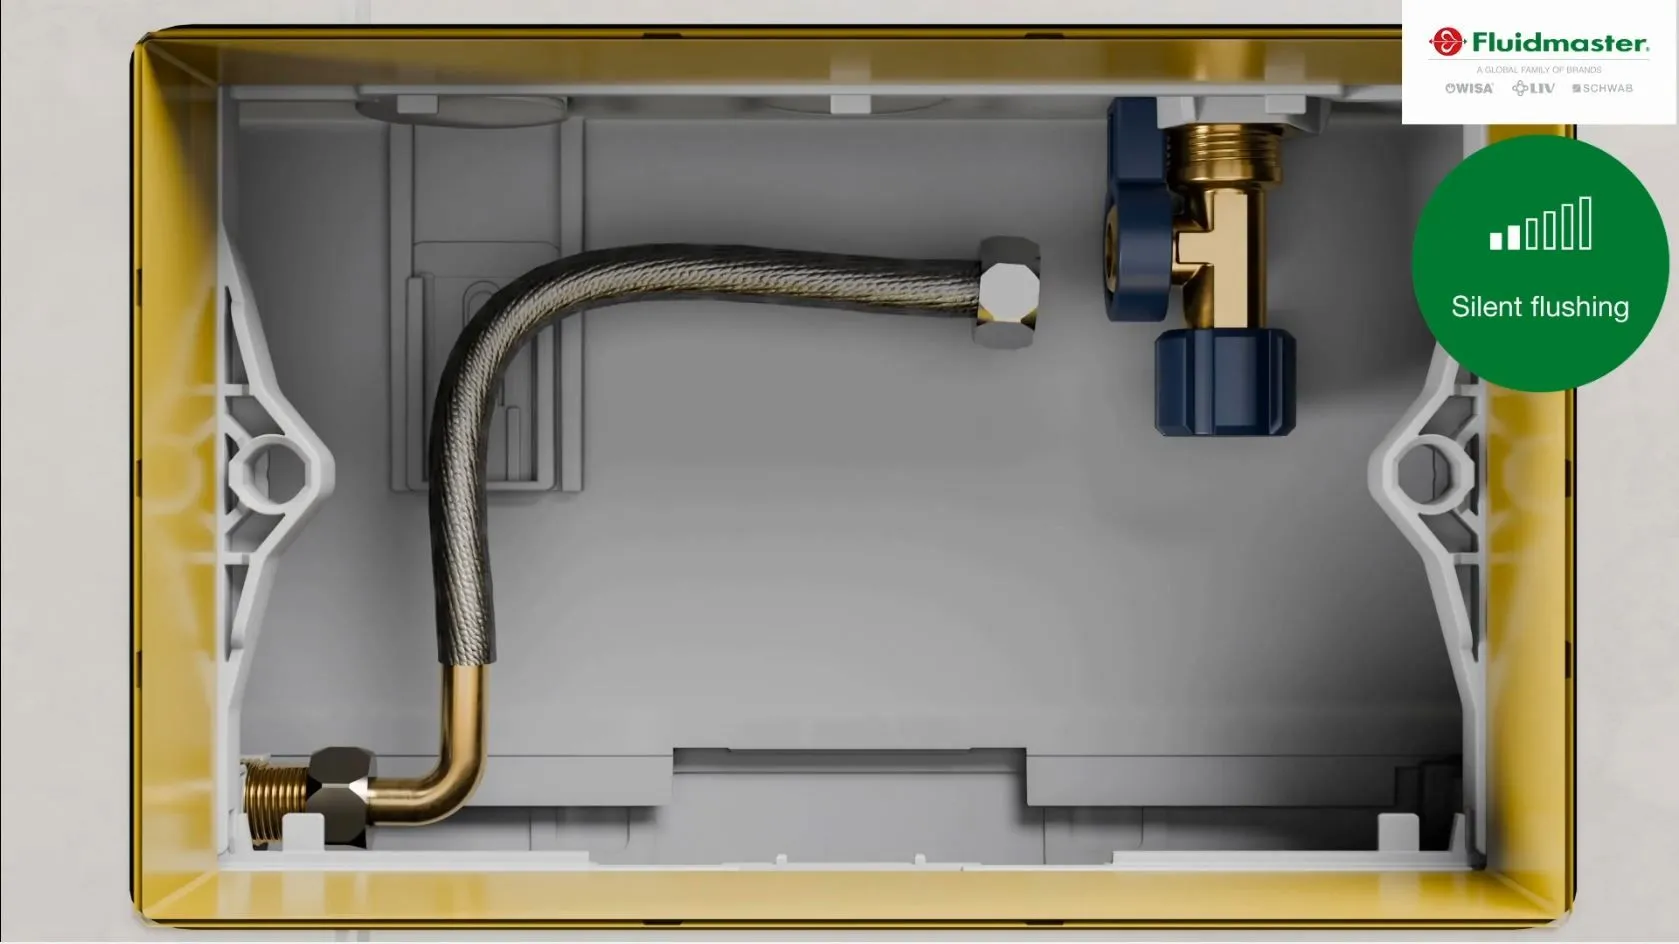
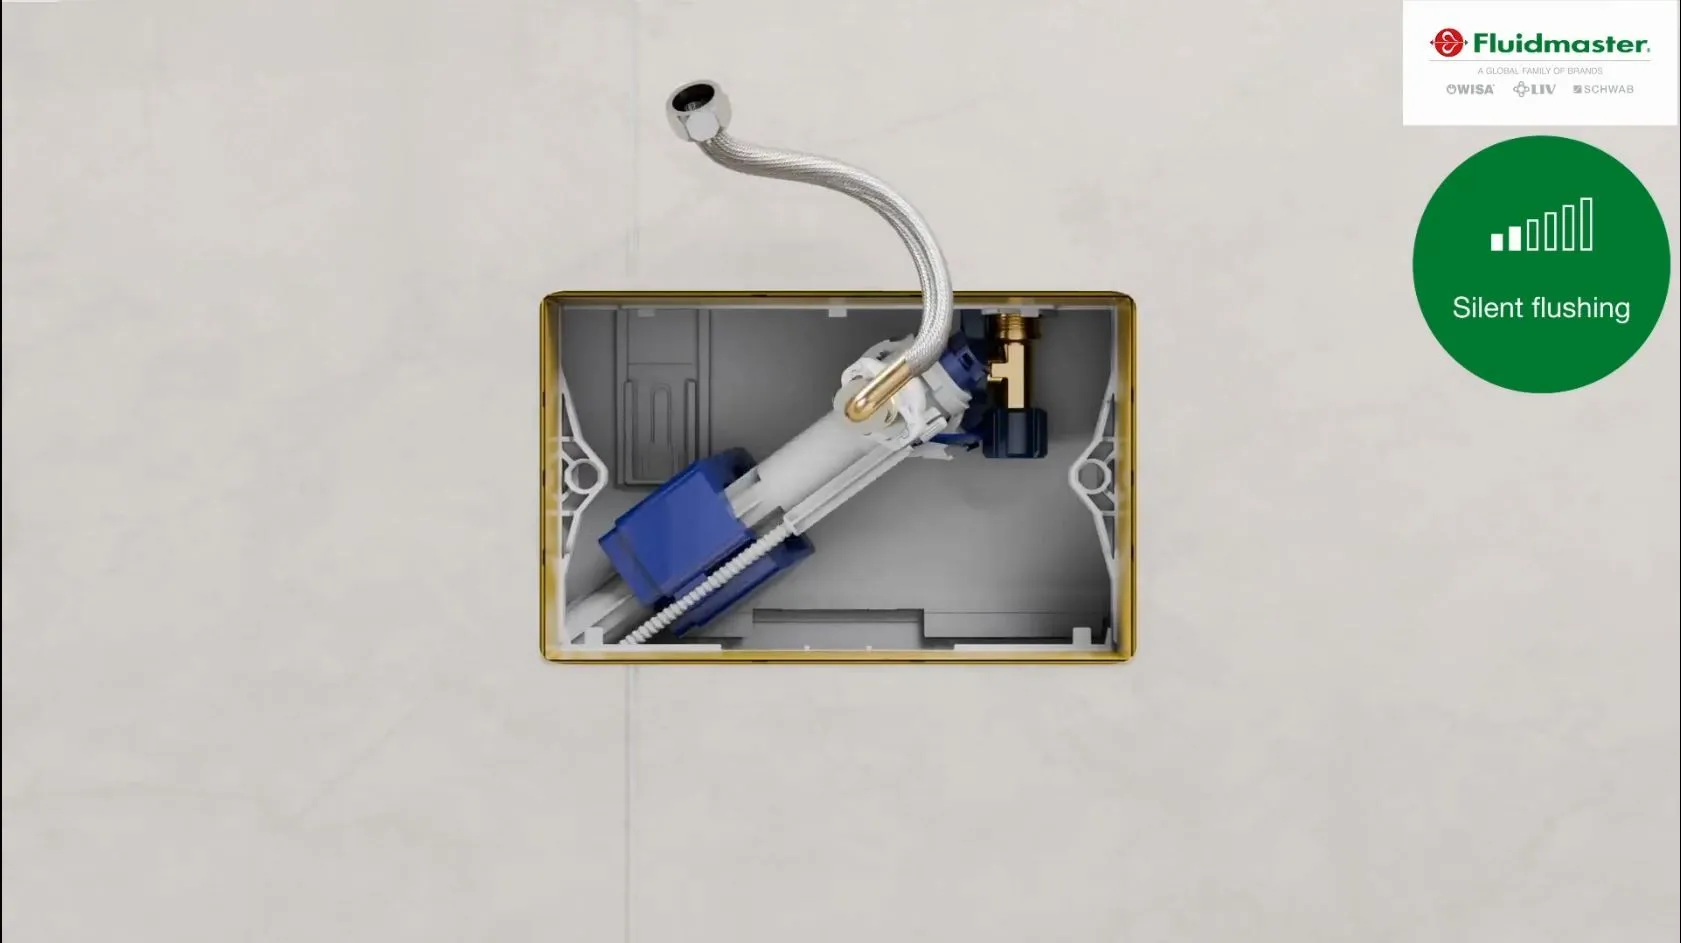
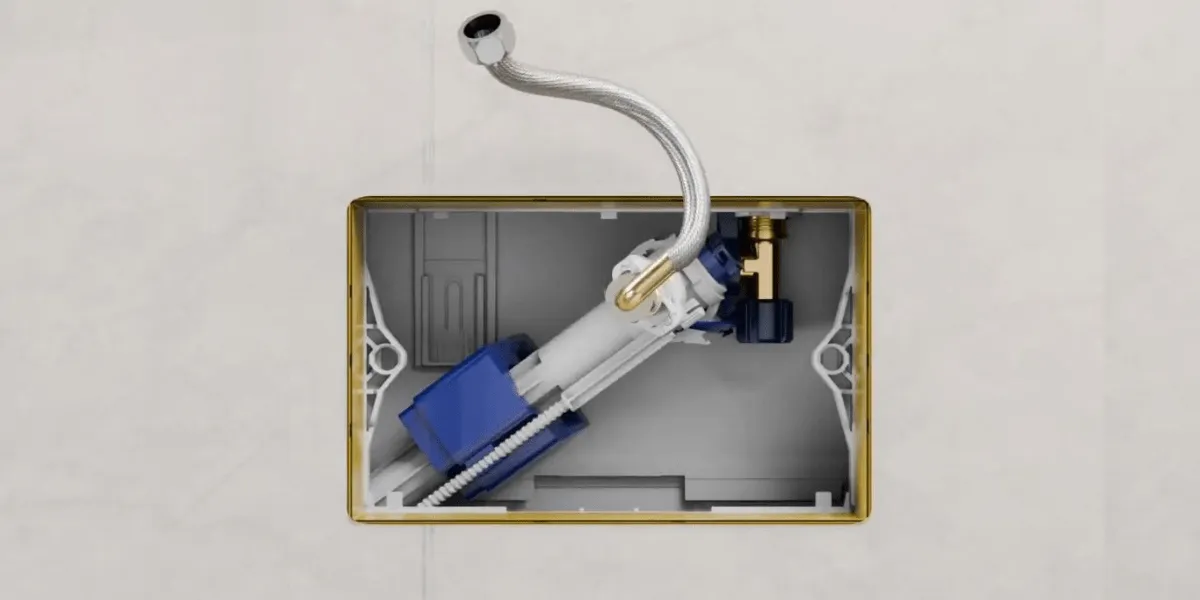
- Concealed Cisterns: These are built into the wall, with valve access provided through a maintenance panel (usually behind the actuator plate). Troubleshooting and repairs can be more complex, sometimes requiring professional assistance.
Tools and Materials Needed:
- Tools
- Towel or sponge (to absorb any spilled water)
- Cleaning brush (e.g., an old toothbrush)
- Replacement fill and/or flush valve (if needed)
- Distilled vinegar (for cleaning)
Step 1: Preparing for Valve Cleaning or Replacement
Before beginning, always shut off the water supply to the cistern. The shutoff valve is typically located on the side of exposed cisterns or integrated into the cistern for concealed types.
Step 2: Removing the Cistern Lid
For Exposed Cisterns:
Remove the lid, disconnecting the flush mechanism for dual-flush models. This provides direct access to the fill and flush valves.
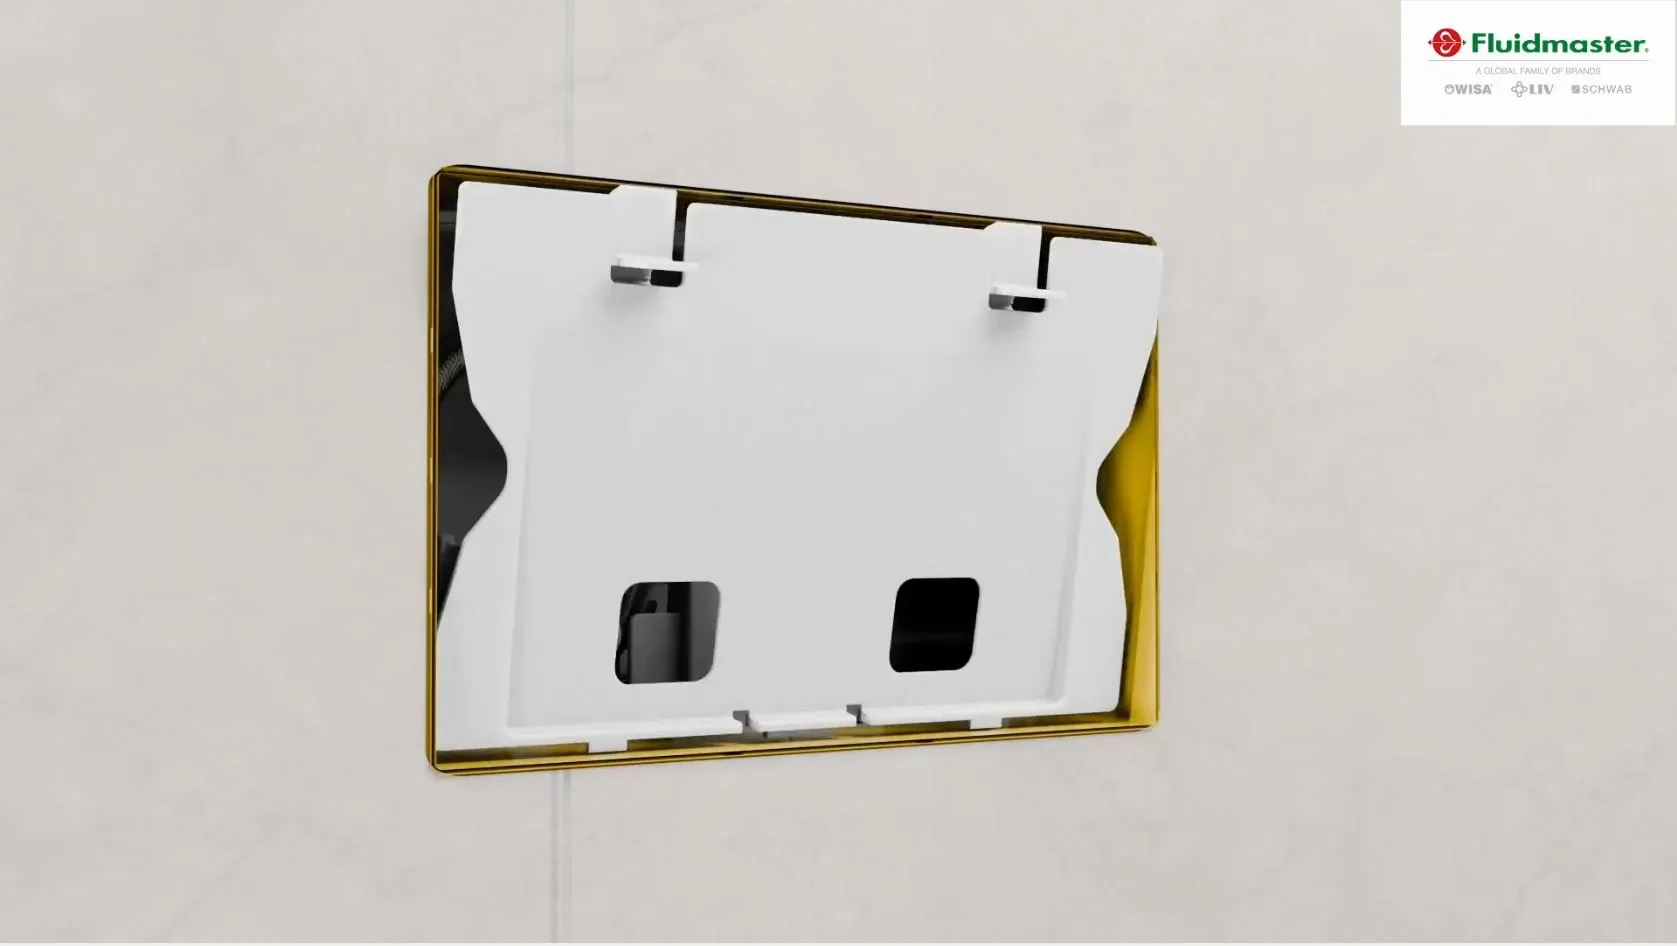
For Concealed Cisterns:
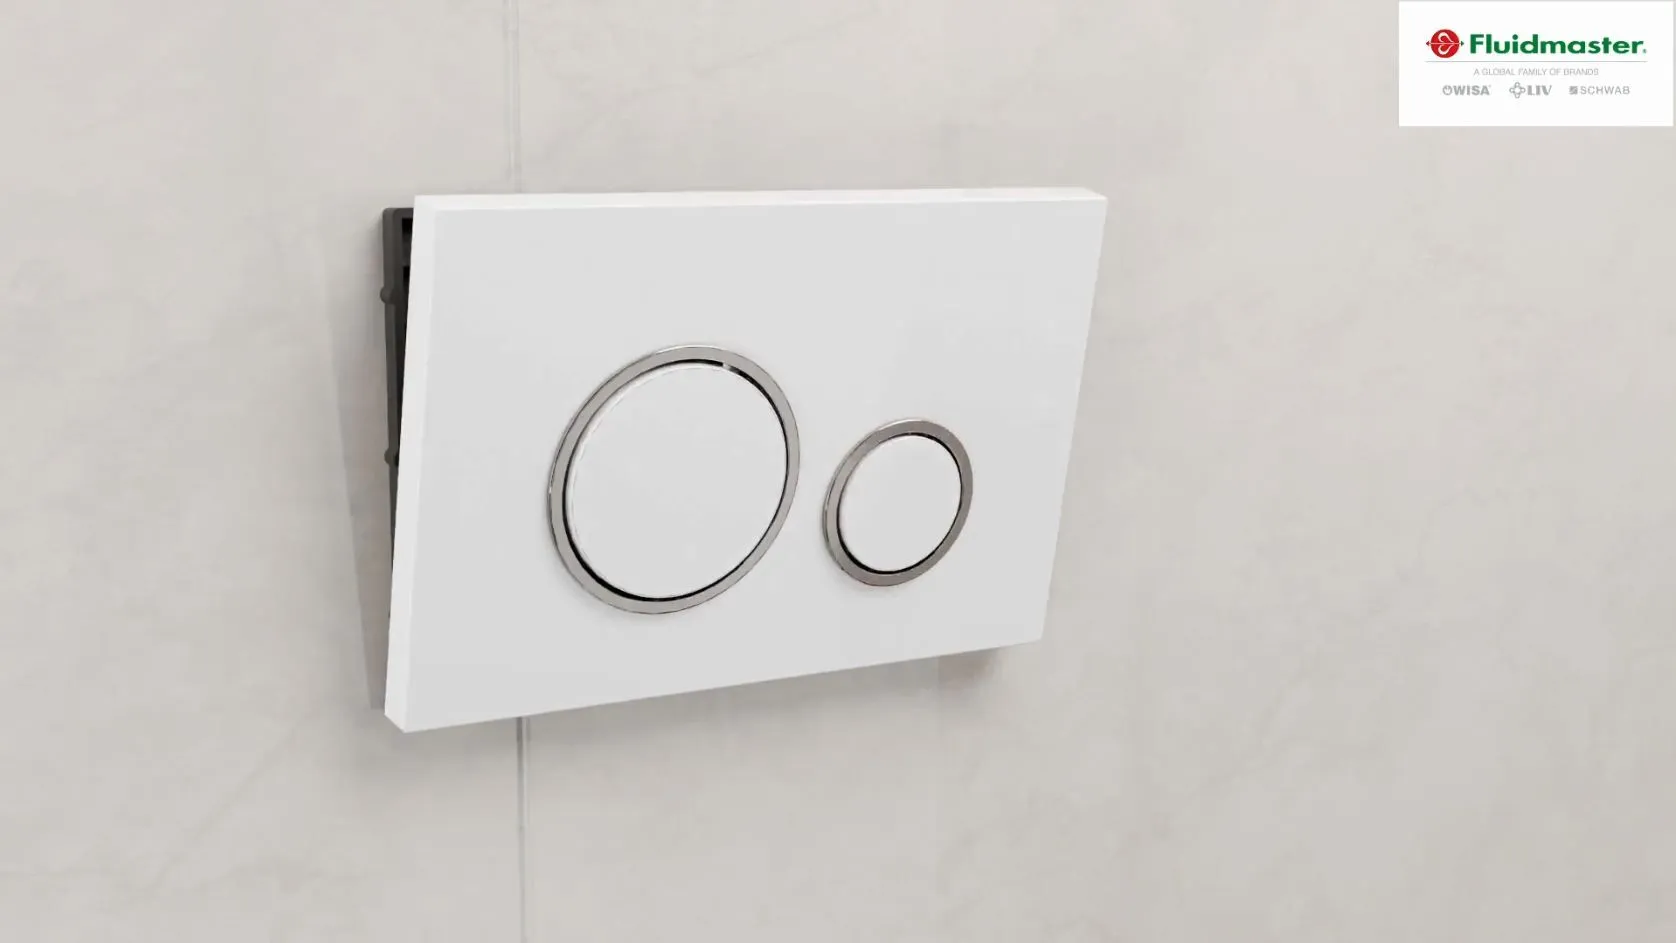
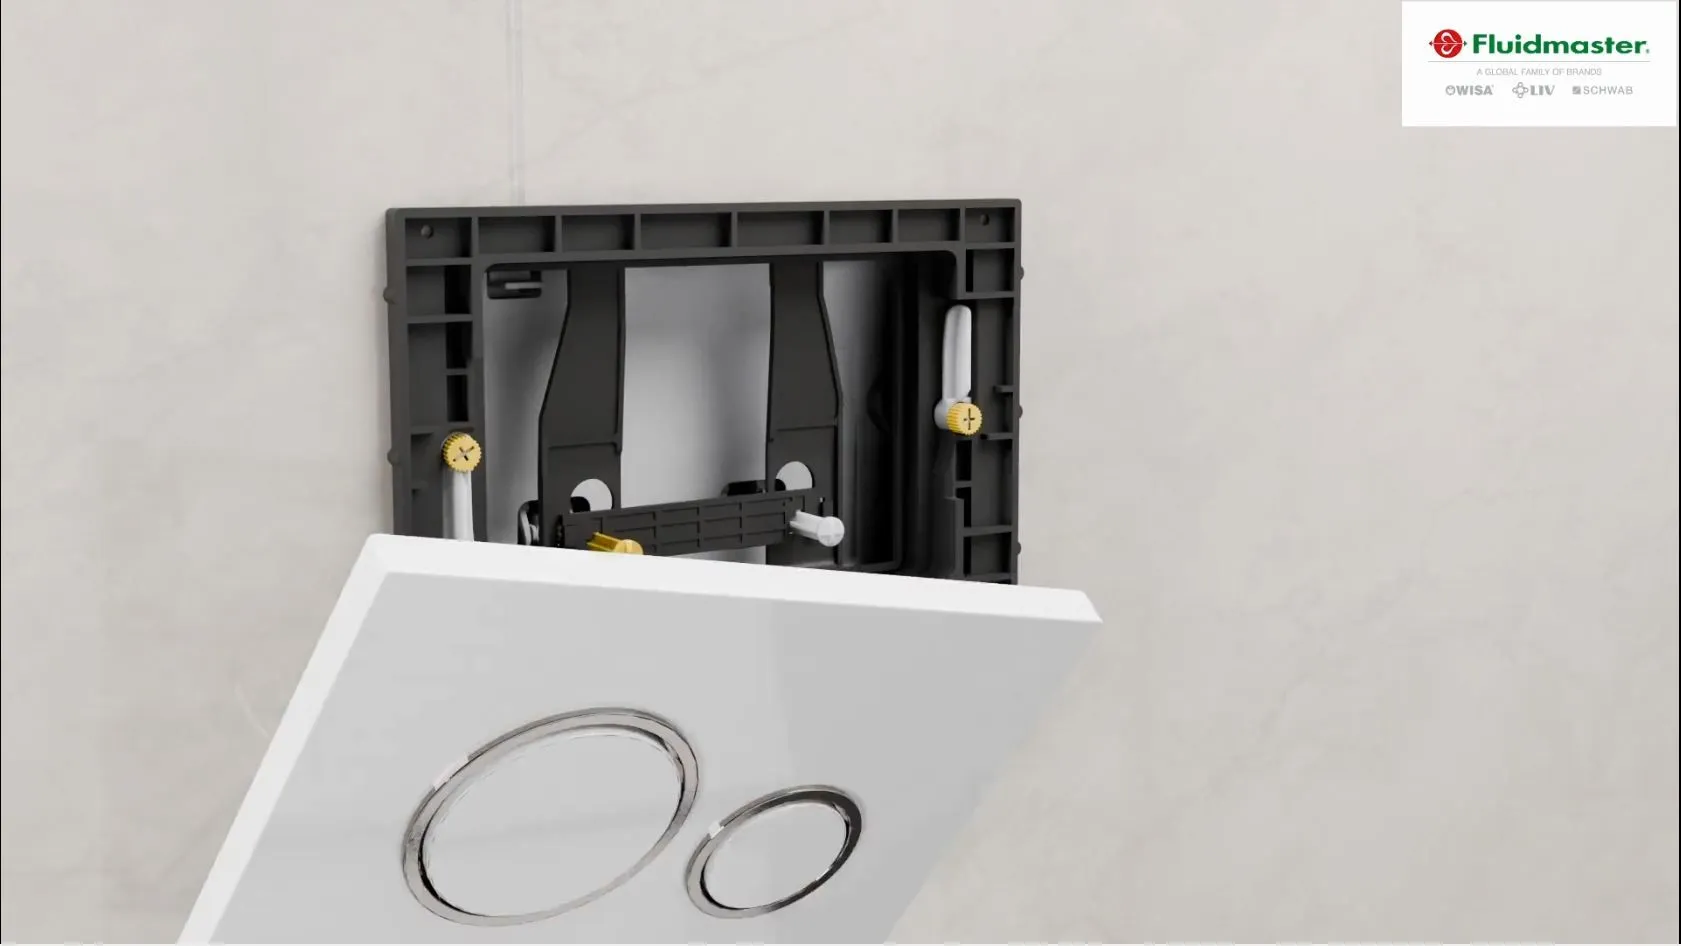
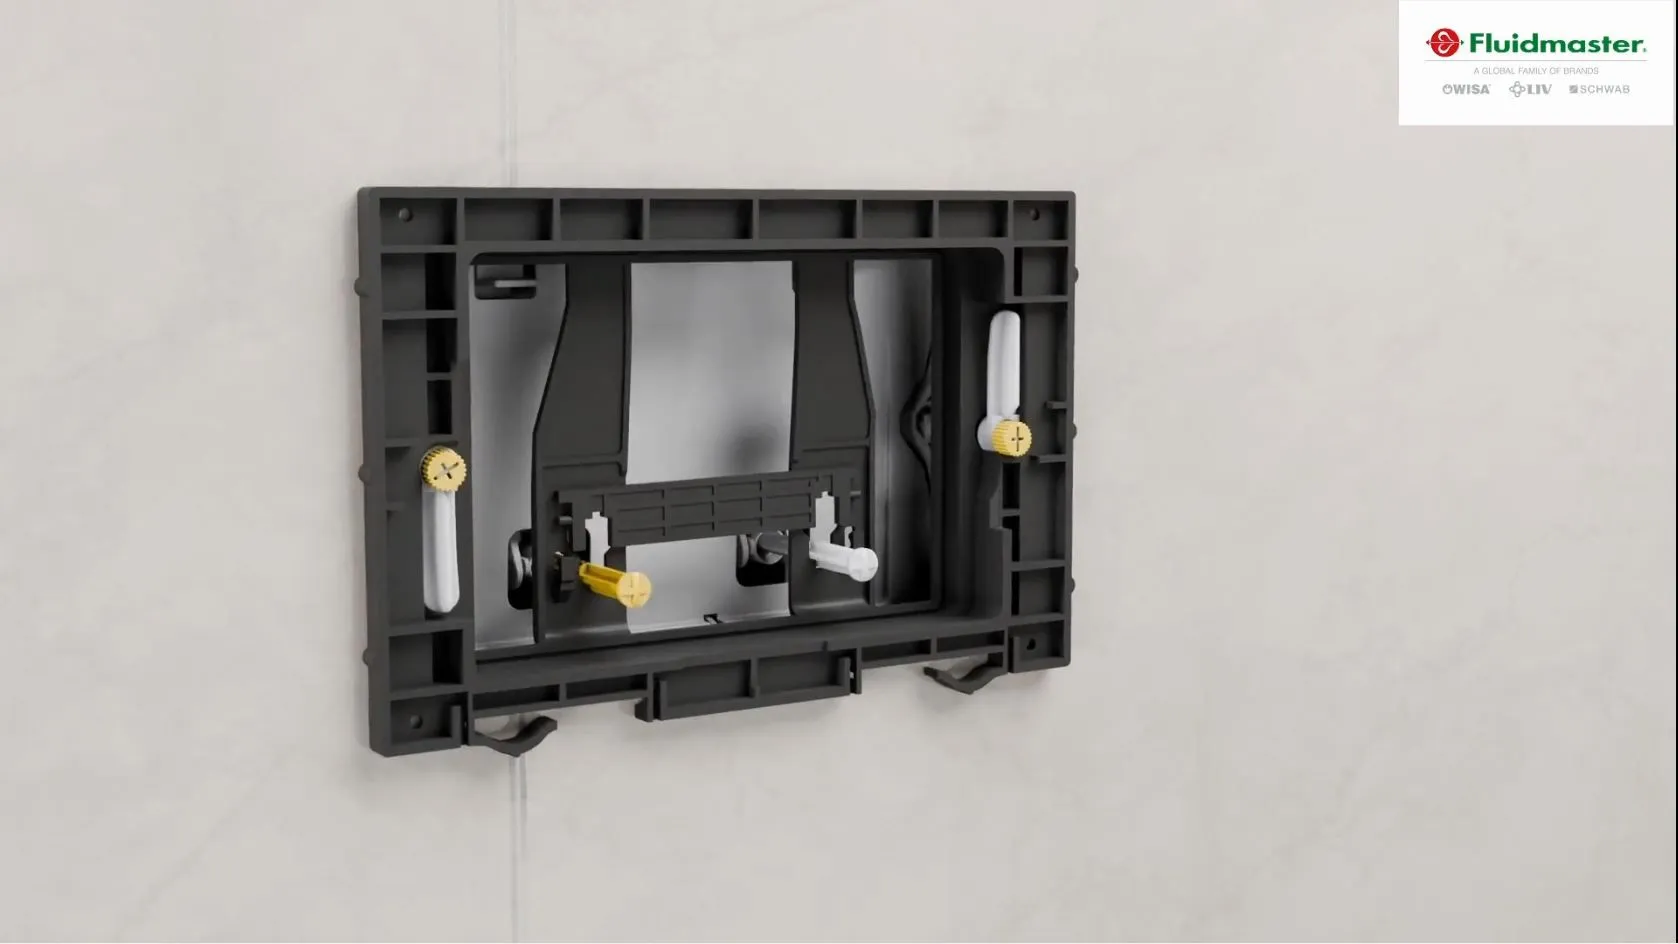
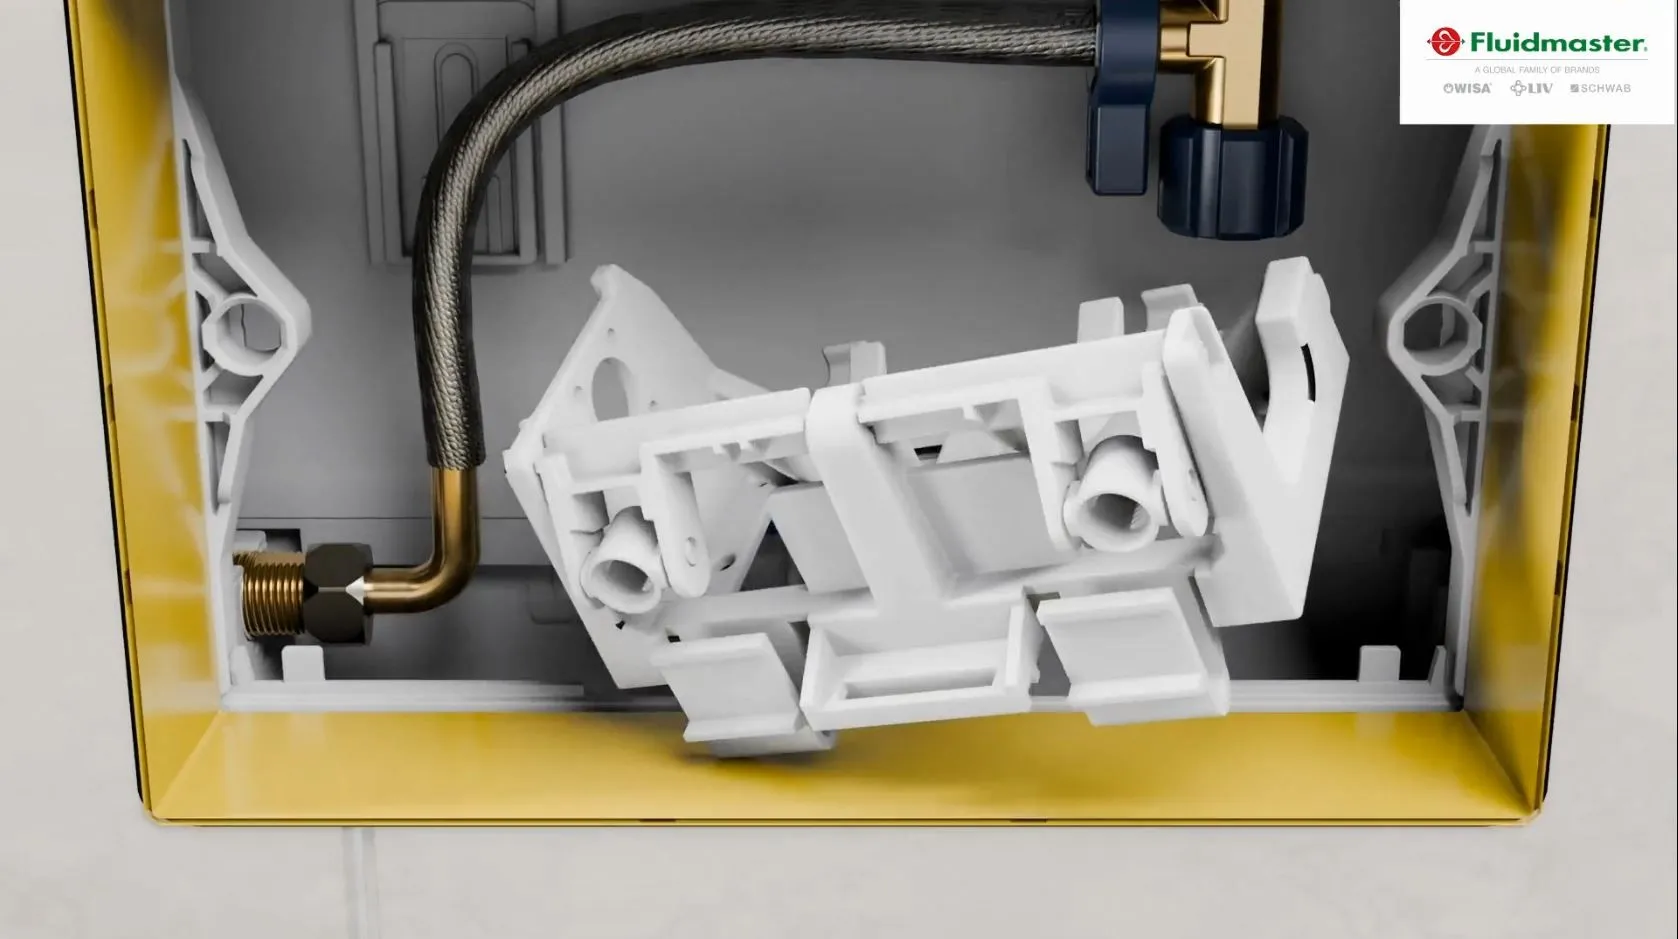
Remove the flushing plate, the mounting bracket for the plate, and the protective cover. This allows access to the cistern’s interior. The process is more intricate and may require a plumber for complex systems.
Step 3: Cleaning the Fill Valve
Fill valves often have built-in filters that can become clogged with sediment or debris from the water supply.
- Turn off the water supply.
- Carefully remove the fill valve and its filter from the cistern.
- Rinse the filter under running water to remove debris.
- If necessary, soak the filter in a vinegar-water solution for a few minutes to dissolve stubborn residue and scrub it gently with a brush.
- Reassemble the filter and valve, turn the water supply back on, and test for proper operation.
If cleaning doesn’t resolve the issue, consider replacing the valve.
Step 4: Replacing the Fill Valve
For Exposed Cisterns:
- Remove the old fill valve.
- Install the new valve, ensuring all connections are properly sealed to prevent leaks.
- Adjust the water level as specified by the manufacturer.
For Concealed Cisterns:
Follow the same steps, but be mindful of the limited access. If unsure, consult a professional plumber to avoid installation errors.
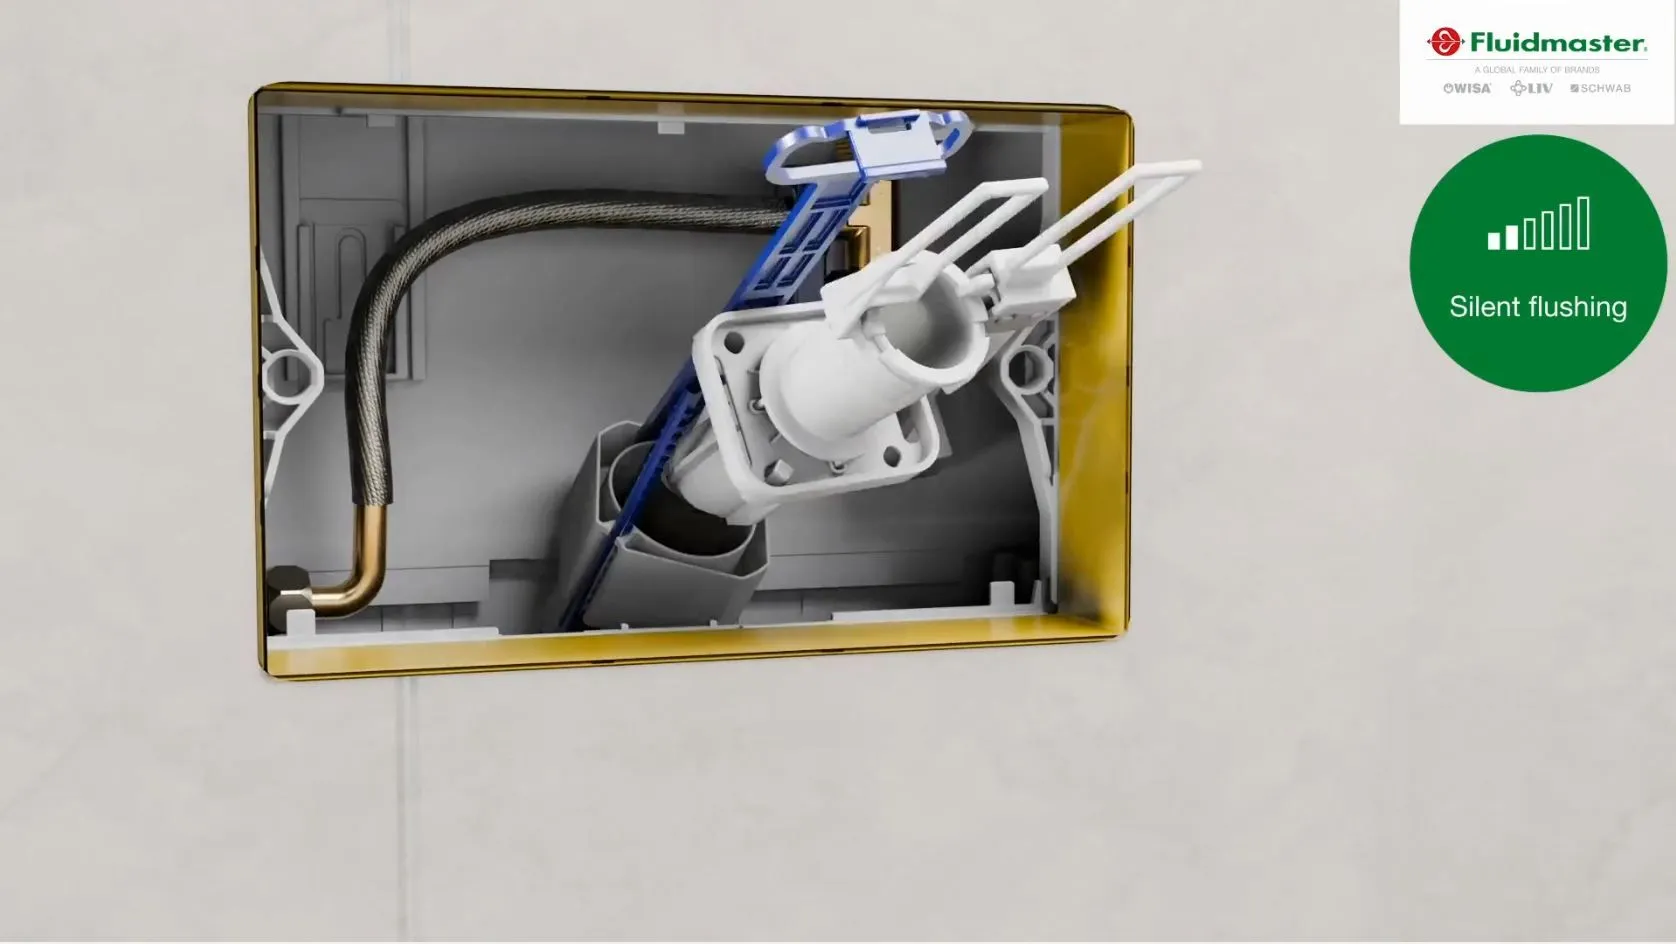
Step 5: Cleaning or Replacing the Flush Valve
A malfunctioning flush valve often results in water constantly leaking into the toilet bowl.
- Remove the flush valve and inspect its seal, which can degrade over time and fail to create a proper seal.
- If the seal is damaged, replace it. Otherwise, clean the valve with warm water to remove dirt and debris.
- Reinstall the cleaned or replacement flush valve and test for leaks by turning the water supply back on.
Step 6: Testing the Cistern
Once the valves are cleaned or replaced, reopen the water supply and test the system. Testing is straightforward for exposed cisterns, while concealed systems may require additional attention due to restricted access.
Conclusion
Maintaining flush valves is straightforward for exposed cisterns, as access is simple and most issues can be resolved independently. Concealed cisterns, however, may require more effort due to limited accessibility. When in doubt, consult a professional plumber.
Proper maintenance extends the lifespan of your cistern, prevents leaks, and reduces water consumption—benefiting both your wallet and the environment!
Explore More
Discover our extensive range of valves on this page. For replacement parts, visit our spare parts section.
Need assistance? Email us at sanitary.liv@fluidmaster.com or contact our sales team.


